In this chapter we will see how to create a DCP from a video file using DCP-o-matic. We will gloss over the details and look at the basics.
Let's make a very simple DCP to see how DCP-o-matic works. First, we need some content. Download the low-resolution trailer for the open movie Sintel from their website. Generally one would want to use the highest-resolution material available, but for this test we will use the low-resolution version to save on download time.
Now, start DCP-o-matic and its window will open. First, we will create a new ‘film’. A ‘film’ is how DCP-o-matic refers to some pieces of content, along with some settings, which we will make into a DCP. DCP-o-matic stores its ‘film’ data in a folder on your disk while it creates the DCP.
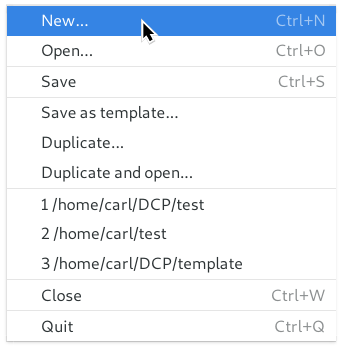
You can create a new film by selecting New from the File menu, as shown in Figure 3.1, “Creating a new film”.
This will open a dialogue box for the new film, as shown in Figure 3.2, “Dialogue box for creating a new film”.
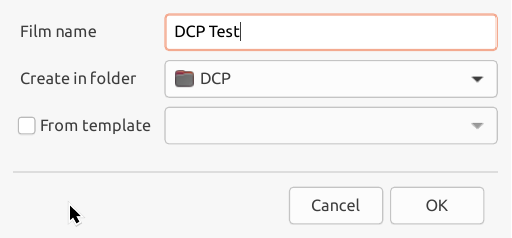
In this dialogue box you can choose a name for the film. This will be
used to name the folder to store its data in, and also as the initial
name for the DCP itself. You can also choose where you want to create
the film. In the example from the figure, DCP-o-matic will create a
folder called ‘DCP Test’, inside my existing folder DCP, into which it
will write its working files.
DCPs can be very large (more than 100GB for a feature-length DCP) so it's important to choose a folder on a disk with plenty of free space.